

Inner Outer Tactical Belt System Heavy Duty Guide
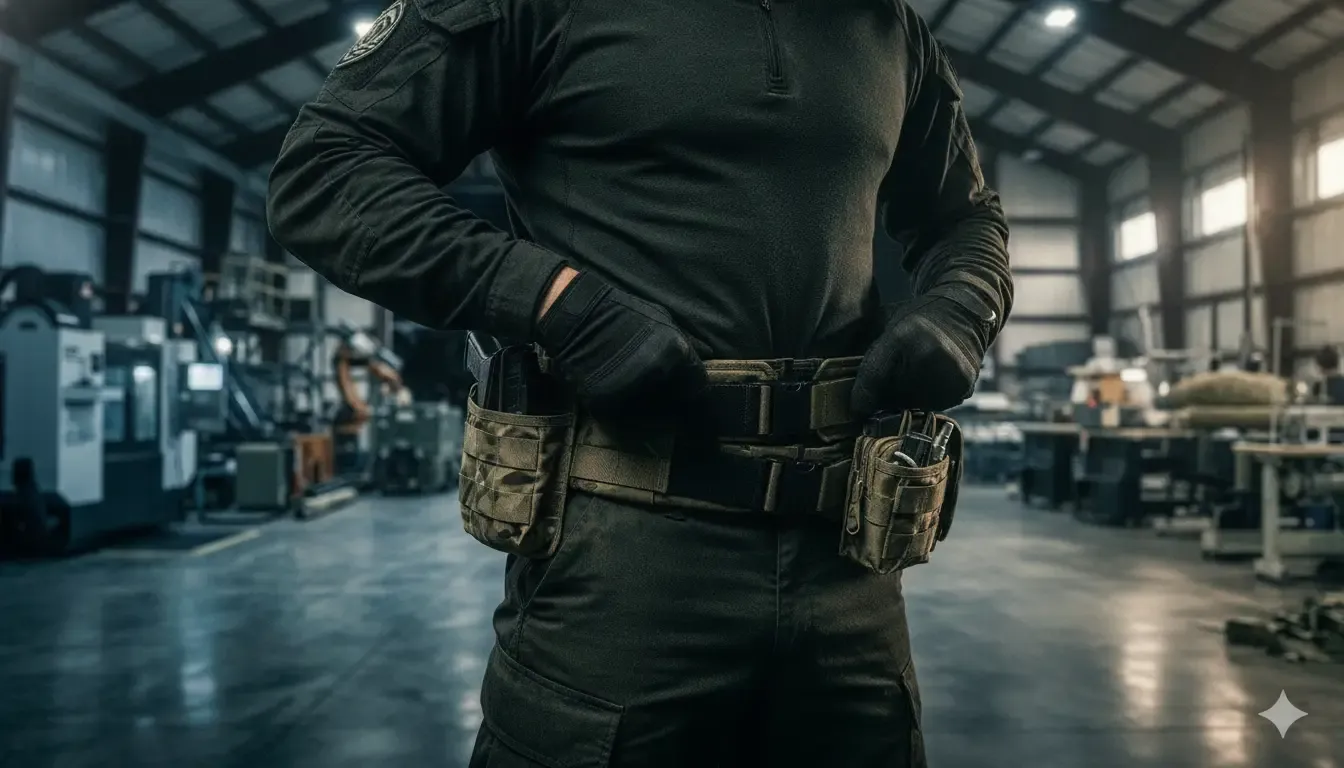
An inner outer tactical belt system heavy duty configuration is more than a belt with pouches attached. It is a modular interface between the operator, duty clothing, mission equipment, and the retention method that keeps the assembly stable during movement. For procurement teams, the objective is not to maximize attachment space. It is to specify a repeatable system that fits the user, carries the required load, and remains serviceable across patrol, response, and mission profiles.
Request a quote for a mission-specific tactical belt configuration.
What is an inner and outer tactical belt system?
Answer: An inner and outer tactical belt system separates waist retention from equipment mounting. The inner belt establishes fit around the user and interfaces with the outer belt, while the outer belt carries compatible pouches, holsters, tools, and mission accessories. This architecture lets teams remove, reconfigure, or replace the equipment layer without rebuilding the complete waist interface.
The inner belt is the foundation. It should hold a consistent position against the duty garment, provide enough adjustment for the approved clothing range, and present a compatible hook-and-loop or mechanical interface. The outer belt is the working platform. Its width, stiffness, attachment pattern, buckle clearance, and reinforcement determine which equipment can be mounted and how much usable circumference remains.
That division creates an important procurement distinction:
- Fit layer: the inner belt controls waist contact, adjustment, and repeatable placement.
- Equipment layer: the outer belt provides the surface for pouches, holsters, keepers, and tools.
- Interface: hook-and-loop, belt keepers, slots, or other attachment features keep the layers aligned.
- Service model: the user can remove the outer assembly for transport, cleaning, inspection, or role changes.
A system should not be called heavy duty merely because its webbing looks wide or its outer belt has a dense attachment field. Review the complete architecture, the intended equipment, the connection method, and the supplier's evidence for each component. A belt designed for equipment retention is not automatically a fall arrest, climbing, hoisting, or rescue device.
How should the inner and outer layers be specified?
Answer: Specify the inner layer for waist fit, clothing compatibility, adjustment range, and stable engagement. Specify the outer layer for equipment interface, stiffness, buckle clearance, attachment geometry, and reinforcement. The two layers must be evaluated as a matched system, because a strong outer belt cannot correct a poor inner fit or incompatible interface.
Inner belt requirements
Start with the clothing stack. A belt worn over a uniform shirt and under an outer garment may require a different adjustment range than a belt worn over a load-bearing garment. Record the waist measurement in the actual operational clothing configuration, not only the user's casual trouser size. Then define the permitted range for seasonal clothing, body armor, or protective outer layers if those are part of the mission.
Next, define how the inner belt closes and how it interfaces with the outer layer. Hook-and-loop engagement can support fast donning and removal, but it needs adequate overlap and a clean mating surface. A buckle may improve repeatable closure, but the buckle must not conflict with a holster, pouch, seat edge, or vehicle restraint. The acquisition specification should state the closure method, adjustment range, material, and replacement requirements.
Outer belt requirements
For the outer belt, document the width and attachment standard before selecting accessories. A pouch that fits one belt width or slot pattern may not transfer to another. Verify whether each accessory uses belt loops, clips, MOLLE-compatible mounting, keepers, or a proprietary adapter. Treat the attachment method as an interface control, not an afterthought.
Stiffness is also a system variable. More stiffness can reduce sag under distributed equipment, but excessive stiffness can create pressure points or interfere with seated operations. Ask the supplier how the belt is reinforced, how the edges are finished, and how the construction behaves when loaded at the locations the team actually uses.
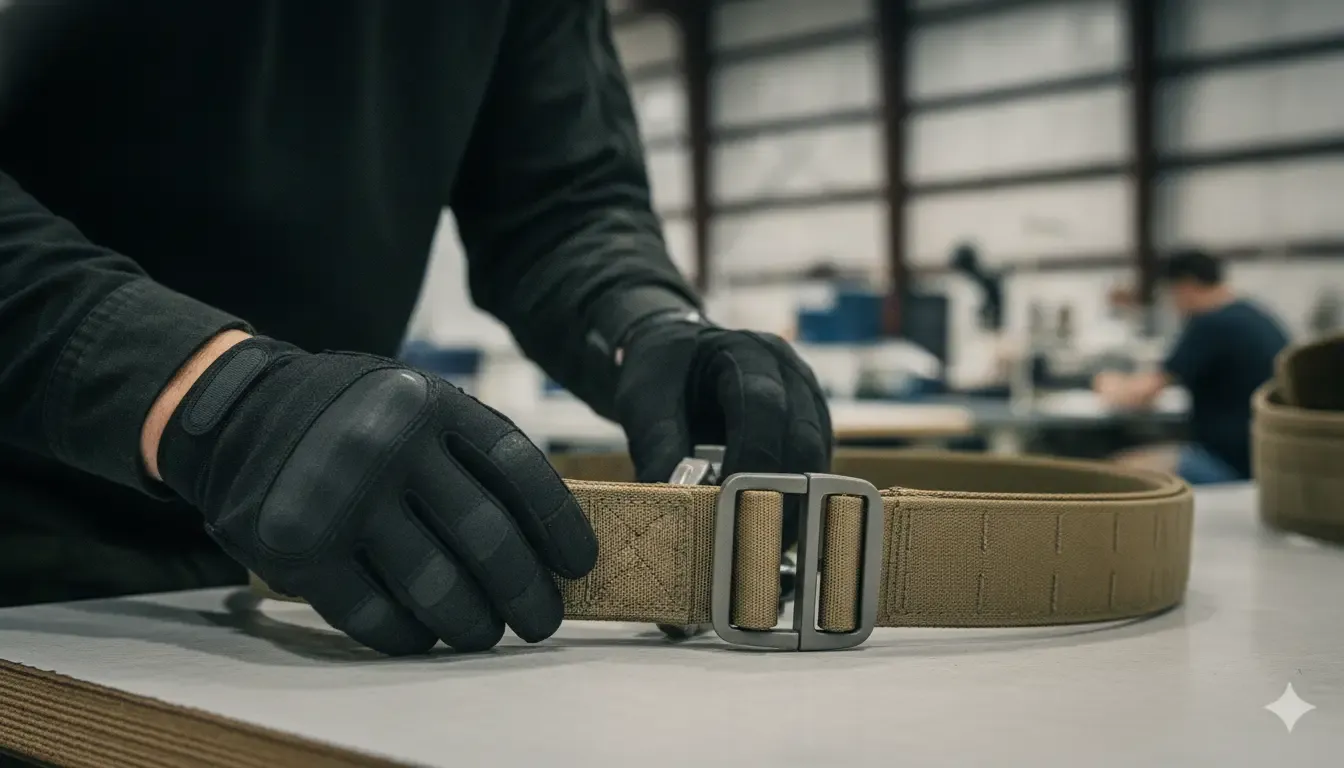
Fusion Tactical's Modular Tactical Belt System illustrates the type of specification detail a buyer should review. Its listed configuration includes a Raptor quick-release aluminum buckle, reinforced stitching and bar tacks, MIL-SPEC Type 13 webbing, belt keepers, interior hook-and-loop adjustment, and a three-tier anti-sag construction. Those are component and construction details to verify against the planned load. They are not permission to assign an unsupported rating to the complete system.
Where should equipment be placed on a heavy-duty tactical belt?
Answer: Place equipment by mission sequence, access priority, interference risk, and balance. Keep frequently accessed items in a consistent strong-side or support-side zone, reserve the center front and rear for clearance, and distribute dense items so the belt does not rotate or create pressure points. Validate the layout while standing, walking, sitting, and entering vehicles.
A practical load plan begins with a requirements list rather than a pouch list. Identify what the operator must carry, what must be accessible with either hand, what can be staged elsewhere, and what must remain attached during transitions. Then mark the belt in zones:
- Primary access zone: place the equipment used most often where the operator can reach it without twisting or lifting the belt.
- Support-side zone: reserve space for tools or equipment that must remain clear of the dominant hand and primary draw path.
- Rear quarter zones: use these for distributed, lower-frequency equipment while protecting the lumbar area from hard contact.
- Front clearance zone: keep the buckle, seated interface, and centerline free from unnecessary bulk.
- Transition zone: check the areas that contact vehicle seats, door frames, packs, and other equipment.
Balance should be assessed by effect, not by a theoretical equal number of pouches on each side. A dense item on one side can pull the outer belt away from the inner layer, rotate the system, or increase pressure at the hip. Move the item, change its mounting method, or use a support feature if the layout fails during movement.
Document the approved layout with a simple equipment list, zone map, and interface notes. The record should identify the accessory type, attachment method, intended position, and any clearance requirement. This supports training, replacement, and multi-user procurement without forcing every operator to create a new layout from memory.
How do attachment compatibility and retention affect field performance?
Answer: Attachment compatibility determines whether equipment stays aligned with the belt, while retention determines whether the assembly remains secure during movement and transitions. Verify width, slot spacing, hook-and-loop engagement, keeper position, buckle clearance, and accessory-specific mounting before acceptance. A pouch that attaches easily but shifts under use is not a successful system component.
Use a compatibility matrix for every proposed accessory. At minimum, record:
| Control point | What to verify | Procurement question |
|---|---|---|
| Width | Inner and outer belt dimensions match the accessory interface | Which belt widths and adapters are approved? |
| Mounting | Slots, clips, keepers, or MOLLE attachment engage fully | Can the accessory be removed without damaging the belt? |
| Retention | The outer layer stays aligned during walking, kneeling, and transitions | What engagement or keeper method prevents rotation? |
| Clearance | Buckle, holster, seat, pack, and garment interfaces do not conflict | Has the layout been tested in the actual duty configuration? |
| Serviceability | Wear points and replacement parts are identifiable | Are belt, buckle, keeper, and pouch components replaceable separately? |
| Documentation | Approved configuration and limits are recorded | What drawings, specifications, or inspection records ship with the order? |
Retention has two meanings that should not be confused. Equipment retention concerns whether a pouch, holster, or tool remains secured to the outer belt. Body retention concerns whether a person is secured to an aircraft, elevated work position, rope system, or rescue system. A tactical duty belt is not automatically a personal fall protection system. OSHA's personal fall protection standard defines criteria for systems used for that purpose. Use purpose-built, documented equipment whenever a mission involves fall protection, hoisting, climbing, or rescue loads.
Schedule an engineering consultation for attachment compatibility and load planning.
Which belt size and configuration should a procurement team approve?
Answer: Approve the size and configuration that fit the operator's measured clothing stack, preserve the required adjustment range, and maintain stable equipment placement. Do not buy by nominal trouser size alone. Require a documented fit check, an approved accessory matrix, and a field validation process before scaling the configuration across a unit or agency.
For a team order, collect measurements using one documented method. Measure at the belt line over the clothing that will be worn on duty, record the date and clothing condition, and define how much adjustment is required for the expected range. Fusion Tactical's listed modular belt system uses S, M, L, and XL ranges of 28 to 33 inches, 33 to 38 inches, 38 to 43 inches, and 43 to 48 inches respectively. Confirm current sizing and the correct product configuration with the supplier before issuing a purchase order.
Then run a fit and function evaluation with representative users. The test should include:
- Donning and removing the inner and outer layers with the approved clothing stack.
- Standing, walking, kneeling, crouching, and seated movement.
- Vehicle ingress and egress if the mission includes vehicles.
- Access to primary equipment with both the primary and support hand where required.
- Inspection of buckle clearance, hook-and-loop engagement, belt rotation, and pressure points.
- Reconfiguration by an authorized user without improvised drilling, cutting, or sewing.
For repeat procurement, freeze the configuration as a controlled bill of materials. List the inner belt, outer belt, buckle, keepers, pouches, adapters, sizes, colors, and any approved substitutions. This prevents a later order from quietly changing the interface or introducing an accessory that looks compatible but was never evaluated with the system.
What should buyers verify about construction, compliance, and sustainment?
Answer: Buyers should verify the construction record, material traceability, stated component specifications, inspection method, replacement path, and contract-specific compliance requirements. A serious supplier should be able to discuss design intent, prototype validation, production controls, and documentation without converting a component specification into an unsupported whole-system claim.
Construction review should address webbing, stitching, bar tacks, buckle material, edge finishing, hook-and-loop quality, and reinforcement at attachment points. Ask which features are load-bearing for equipment retention and which are comfort or adjustment features. Request the applicable specification or test evidence for the exact configuration being purchased, not a generic statement about a related product.
Compliance is a sourcing requirement, not a decorative label. If the contract requires Berry Amendment or Trade Agreements Act treatment, define the requirement in the solicitation and request the supplier's documentation for the ordered configuration. Fusion Tactical describes Berry-compliant manufacturing capabilities and U.S.-based production. Confirm whether the standard product or a custom build meets the contract's material and origin requirements, because component sourcing can vary by configuration.
For programs with unique fit, load, or interface constraints, consider an engineering review before volume purchase. Fusion Tactical's engineering and testing resources and professional manufacturing capabilities describe design, prototyping, textile fabrication, reinforcement, and production support. Use those conversations to convert an operational requirement into a controlled specification, acceptance test, and sustainment plan.
Maintenance should be practical and role-based. Establish inspection triggers for frayed webbing, loose stitching, damaged hook-and-loop, buckle deformation, missing keepers, torn pouch mounts, and contamination that affects engagement. Remove damaged components from service according to the organization's equipment policy. Do not repair a critical interface with an unapproved stitch pattern, adhesive, or improvised fastener.
How can an organization move from a sample belt to a repeatable program?
Answer: Move from a sample to a program by controlling the configuration, validating it with representative users, documenting acceptance criteria, and defining replacement and inspection procedures. The goal is a repeatable system that procurement, training, logistics, and end users can identify and support over its service life.
A practical procurement sequence is:
- Define the mission: separate patrol, response, vehicle, training, and specialized mission requirements.
- Build the equipment list: identify each item, access priority, interface, and replacement requirement.
- Specify the belt architecture: define inner layer, outer layer, closure, attachment standard, and sizing method.
- Run a representative trial: use real clothing, real accessories, and realistic movement, not a tabletop inspection alone.
- Capture acceptance evidence: record fit, rotation, clearance, retention, serviceability, and user feedback.
- Freeze the bill of materials: document approved components, substitutions, sizes, and compliance records.
- Plan sustainment: stock replaceable parts, train inspectors, and establish a disposition path for damaged equipment.
Fusion Tactical's tactical belt collection provides a starting point for reviewing belt platforms and configurations. The appropriate selection depends on the mission, user measurements, attachment plan, contract requirements, and evidence available for the ordered build. A procurement team should ask for an engineering conversation when the standard catalog configuration does not fully express the operational requirement.
Frequently asked questions
Can an inner outer belt system replace a harness for fall protection?
No. An inner and outer tactical belt system is intended for waist-mounted equipment retention and organization unless the manufacturer provides a separate, documented purpose and rating. Do not use a duty belt as a fall arrest, climbing, hoisting, or rescue system.
What makes an inner outer tactical belt system heavy duty?
Heavy-duty suitability comes from the complete construction and intended use, including appropriate webbing, stitching, reinforcement, buckle design, attachment compatibility, retention, and service documentation. Width or appearance alone does not establish a complete-system rating.
How should a team choose the correct belt size?
Measure at the operational belt line over the actual duty clothing, then compare the result with the supplier's current size range. Validate movement, equipment placement, and adjustment on representative users before approving a unit-wide order.
Which equipment belongs on the inner belt?
The inner belt primarily provides fit and interfaces with the outer belt. It should not be treated as a substitute for the outer equipment platform. Specify any accessory on the inner layer only when its attachment method and retention have been evaluated with the complete system.
How should belt accessories be attached?
Use the attachment method approved for the belt and accessory combination, such as compatible slots, clips, keepers, or MOLLE mounting. Check engagement, clearance, rotation, removal, and serviceability. Avoid improvised holes, cuts, or fasteners that change the construction.
Can a standard configuration meet a government contract requirement?
It may, but the buyer must verify the ordered configuration against the contract's material, origin, testing, documentation, and delivery requirements. Confirm Berry Amendment or TAA applicability and evidence with the supplier rather than assuming that every catalog component has the same sourcing status.
Request a quote or engineering consultation for your tactical belt program.


